How to install GNS3:
Step 1: You can directly download GNS3 setup from GNS3
website or below link. https://www.gns3.com/software/download

Step 2: I am Installing GNS3-2.2.5-all-in-one-regular for Windows; you
can select and download the GNS3 setup as per your OS.

Step 3: Click on Next and start the installation of GNS3.

Step 4: Click on I agree to accept the terms of Agreement.

Step 5: Click on Next, (no need to change anything here).

Step 6: Select the Components that you need to install.

(I am unselecting Solar-putty, VirtViewer, TightVNC Viewer,
CPU limit)
Step 7: Select the Destination folder where you want to
install GNS3.

Step 8: You will get a new dialog box to install WinPcap, to
install it click on next.

Step 9: Click on I Agree.

Step 10: Click on install to install WinPcap.

Step 11: WinPcap installation is finished now. We need to go
back to the GNS3 installation.

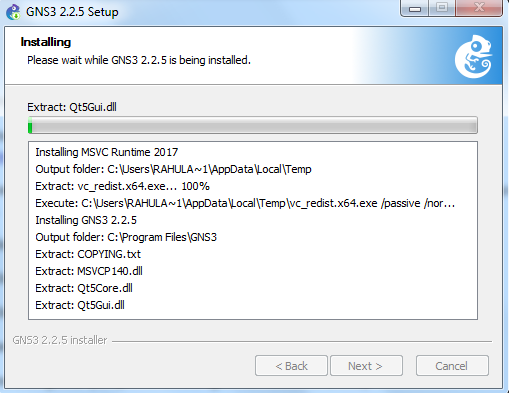
Step 12: After the completion of WinPcap installation you
will see the on-going installation process of your GNS3 software (wait it will
take some time).

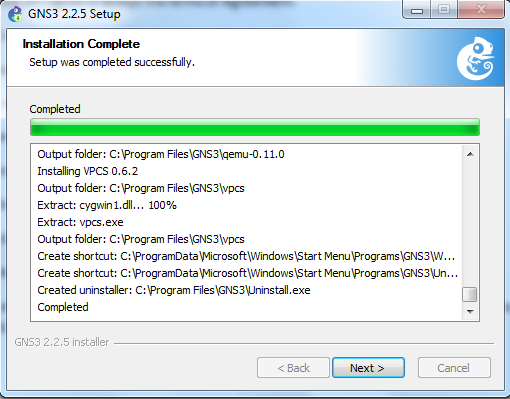
Step 13: Once done you will get the installation complete
message on the screen.
Click on next.
Step 14: Check “No” for Solarwinds Standard toolset installation,
Click on next.

Step 15: You will get the dialog box of completing GNS3
2.2.5 setup, click on Finish.
It will open GNS3.


إرسال تعليق
Please do not enter any spam link in the comment box.